This is the practical guide to Tolstoy Compose. It explains what each feature is for, where to find it, and how to use it without needing to understand the technology behind the app.
Compose keeps the document, sources, research, review, files, and settings close to the writing surface.
Start here
Compose is a local-first writing app. That means you can start writing in the browser without setting up a cloud document store first. Your draft, research, review notes, citations, and versions are kept with the document workflow instead of being scattered across separate tools.
The main parts of the screen
The document title sits at the top. Select it when you want to rename the current draft.
The writing page is the centre of the app. This is where the final document is written.
The toolbar sits below the top bar. Use it for formatting, links, images, tables, citations, review notes, copy, paste, undo, and redo.
The top-right panels open Files, Research, Navigate, Settings, and Workspace.
The word count is visible in the top bar so you can check length while you work.
A normal Compose workflow
Open Compose and start a new document, or open an existing file from the Files panel.
Write and format the draft in the editor.
Use Research to keep useful links and private notes beside the document.
Add citations when a claim, quotation, source, or reference needs to be tracked.
Use Review when you want feedback, suggested replacements, or a record of decisions.
Save important stages in Versions before large edits, client handoff, or final export.
Export the finished document as the format you need.
What Compose is not trying to be
Compose is not a full cloud document-management system. It does not currently provide real-time multi-user editing, cloud document hosting, Google Drive or Dropbox live storage, SSO, SCIM, domain claim, enterprise audit logs, or advanced enterprise permission tiers.
Plans and what each plan includes
The Free plan is for local drafting and basic export. Pro adds the full individual writing workflow. Teams gives organisations Pro-level seats with central control.
Free
For drafting, formatting, saving, and exporting your own local documents.
Editor, formatting, links, images, tables, local files, and crash recovery.
Export to plain text, Markdown, HTML, and Compose files.
No account required for core local writing.
Pro
For professional documents that need research, citations, review, versions, and delivery-ready export.
Everything in Free.
Research, citations, review, Versions sidebar, saved milestones, recent recovery points, DOCX export, PDF export, paid support, and device management.
Use up to 3 active devices.
Teams
For organisations that need managed seats, roles, and shared workspace administration.
Everything in Pro for each active seat.
Central billing, seat management, team spaces, owner/admin/member roles, member creation, and member removal.
Shared defaults and team standards for owners and admins where enabled.
When you need an account
You can write locally without signing in. Sign in when you need paid features, Pro or Teams access, device slots, paid support, billing management, or team administration.
Writing editor
The editor is the main writing surface. It is built for long documents: essays, reports, manuscripts, business documents, research writing, and other work where the notes around the document matter as much as the final page.
Write and format text
Click into the document page.
Start typing. The title, word count, and save status update as you work.
Select text when you want to format it.
Use the toolbar to apply bold, italic, underline, strikethrough, inline code, highlight, links, or other formatting.
Use the block-format controls to turn a paragraph into a heading, quote, note block, caption, code block, bullet list, numbered list, or horizontal rule.
Use headings properly
Place the cursor in the paragraph that should become a heading.
Choose the heading level from the formatting controls.
Use Heading 1 for the largest section, Heading 2 for major subsections, and lower levels for nested structure.
Open the Navigate panel to move through the headings later.
Good headings make long documents easier to review, search, export, and navigate.
Add a link
Select the text you want the reader to click.
Choose the link control in the toolbar.
Enter the website, email address, phone number, or heading target.
Check the display text before applying the link.
Apply the link. To edit it later, place the cursor in the linked text and open the link controls again.
Internal heading links are useful for tables of contents, briefing packs, and long reports.
Add an image
Place the cursor where the image should appear.
Use the image control in the toolbar.
Upload an image from your device, or insert an image from a link when that option is available.
Add alt text so screen-reader users understand the image.
Add a title or caption if the image needs explanation.
Choose the alignment and width: small, medium, full width, or a custom width.
To replace or remove the image later, select the image and use the image controls.
Supported image types include PNG, JPEG, GIF, and WebP. Very large embedded images may be blocked so the document remains manageable.
Add a table
Place the cursor where the table should go.
Use the table control in the toolbar.
Choose a preset such as 2×2, 3×3, or 4×2, or use a recent table preset if one is shown.
Click into cells and type normally.
Use the table controls to add or remove rows and columns.
Use header rows or header columns when the first row or column labels the data.
Add a caption when the table needs a title or explanation.
You can also paste table-like data from another source. Compose will try to keep it as a table when the browser clipboard provides usable table data.
Local files and recovery
The Files panel is where you create, open, save, duplicate, rename, close, recover, import, and export documents.
Use the Files panel when you need to save, open, recover, or export a document.
Create a new document
Open the Files panel from the top-right bar.
Choose New document.
Rename the document from the title area at the top of the screen.
Start writing, or save a copy when you are ready to store it as a file.
Open an existing file
Open the Files panel.
Choose Open.
Select a supported file from your device.
Check the imported document before continuing, especially after opening DOCX or HTML from another app.
Compose can open Compose files and bundles, plain text, Markdown, HTML, and Word-compatible DOCX content.
Save your work
Open the Files panel.
Choose Save to update the current file when your browser has permission to write back to it.
Choose Save as or Save copy when you want a separate file.
Store important work somewhere you control, especially before clearing browser data, changing devices, or resetting the app cache.
Chromium-based browsers can offer stronger local file handling. Safari, Firefox, iPhone, and iPad often use download or share-sheet fallbacks instead.
Recover a draft
Open the Files panel.
Look for recovery or recent draft options when Compose detects recoverable work.
Open the recovered copy and inspect it before replacing your current document.
Save the recovered version as a normal file if it contains work you want to keep.
Free includes crash recovery. Pro and Teams add richer recent recovery points and saved milestones through Versions.
Import, export, and clipboard
Compose is designed so your work can leave the app in practical formats. Use export when you are sending the final document somewhere else. Use clipboard options when you are moving a section into another app.
Import a document
Open the Files panel.
Choose Open or Import.
Select the file from your device.
Let Compose convert the file into an editable document.
Review headings, tables, images, links, and special formatting before you continue writing.
Text-like imports are capped at 25 MB. DOCX imports are capped at 75 MB.
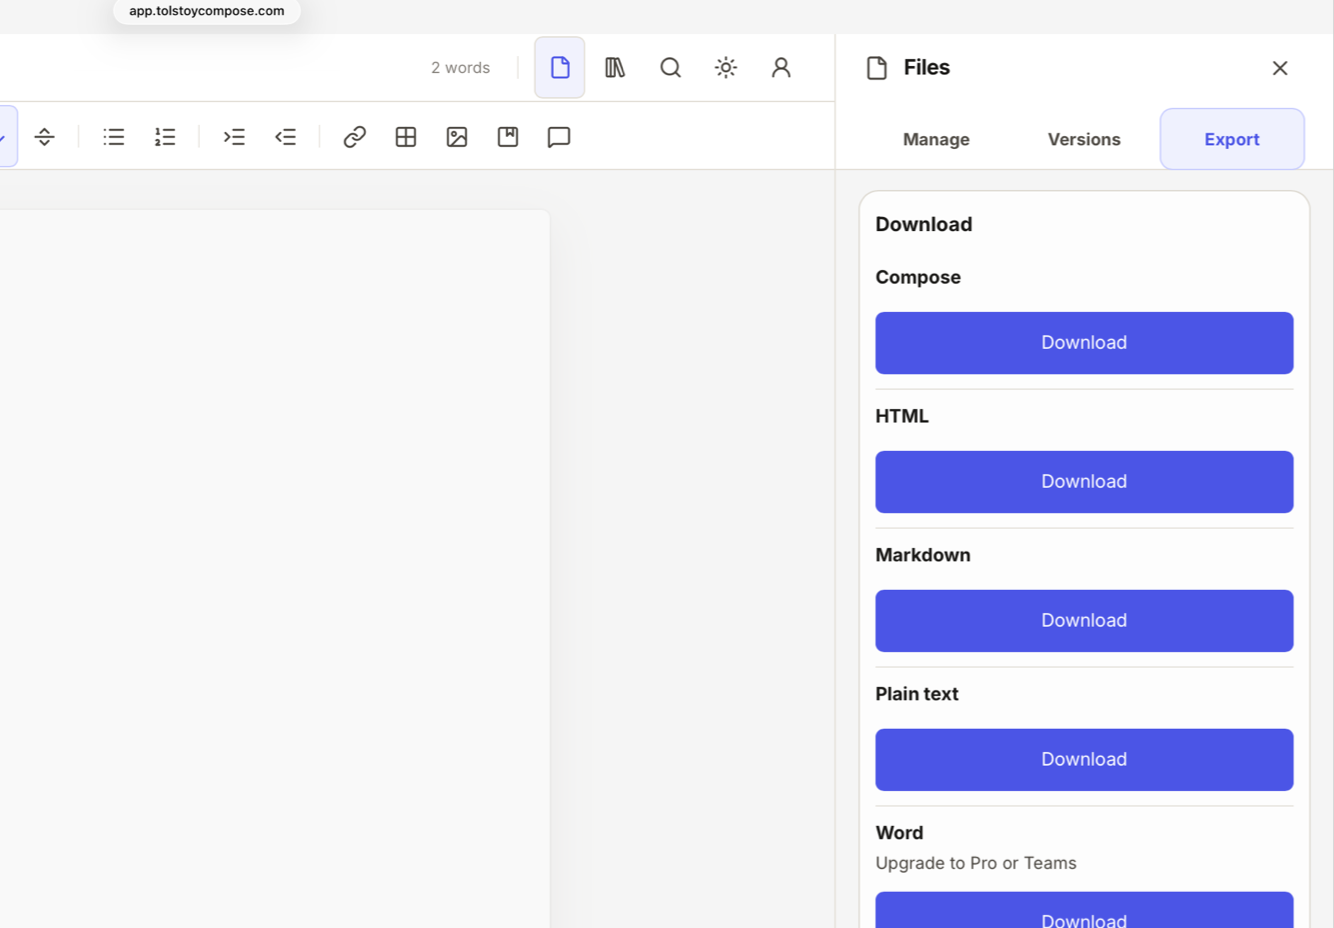
Export a finished document
Open the Files panel.
Go to the export options.
Choose the format you need: plain text, Markdown, HTML, Compose document, Compose bundle, DOCX, or PDF.
Follow the browser’s save, download, print, or share prompt.
Open the exported file and check it before sending it to someone else.
DOCX and PDF export are paid features. PDF uses the browser’s print/PDF flow, so the exact save step depends on the browser and device.
Choose the right export format
Plain text is best when you only need the words.
Markdown is useful for web publishing, developer tools, static sites, and apps that understand Markdown.
HTML is useful when you need a browser-readable copy with structure.
Compose document is useful when you want to reopen the draft in Compose.
Compose bundle is useful when you want to preserve more document data, including paid-workspace history where available.
DOCX is useful for Word-compatible handoff.
PDF is useful for final reading, sharing, or printing.
Copy text for another app
Select the text you want to move.
Open the copy options in the toolbar.
Choose the destination that matches what you are doing: document, email/web, forms/CRM, or Markdown.
Paste into the other app.
If spacing or formatting is wrong, undo in the other app and try a plainer copy mode.
Use recent and pinned clips
Copy a useful passage from the toolbar copy options.
Open clipboard history from the toolbar when you want to reuse it.
Choose a recent clip to copy it again.
Pin a clip when you expect to reuse it often.
Rename saved clips so you can identify them later.
Clipboard history keeps a small recent set. It is meant for repeated working snippets, not as a permanent archive.
Paste with control
Place the cursor where the pasted content should go.
Use normal paste, or open the paste options if you need more control.
Choose match document, keep formatting, plain text, Markdown, or table-aware paste.
Review the result.
Use undo if the pasted content brought in formatting you did not want.
Navigation, outline, and find
The Navigate panel helps you move around a long document without scrolling blindly.
Use Navigate for the outline, current section, and find-and-replace work.
Move around with the outline
Add headings to the document first.
Open the Navigate panel from the top-right bar.
Select a heading in the outline to jump to that section.
Use previous and next section controls when you are reviewing section by section.
Check section word counts when a report, chapter, or brief has a target length.
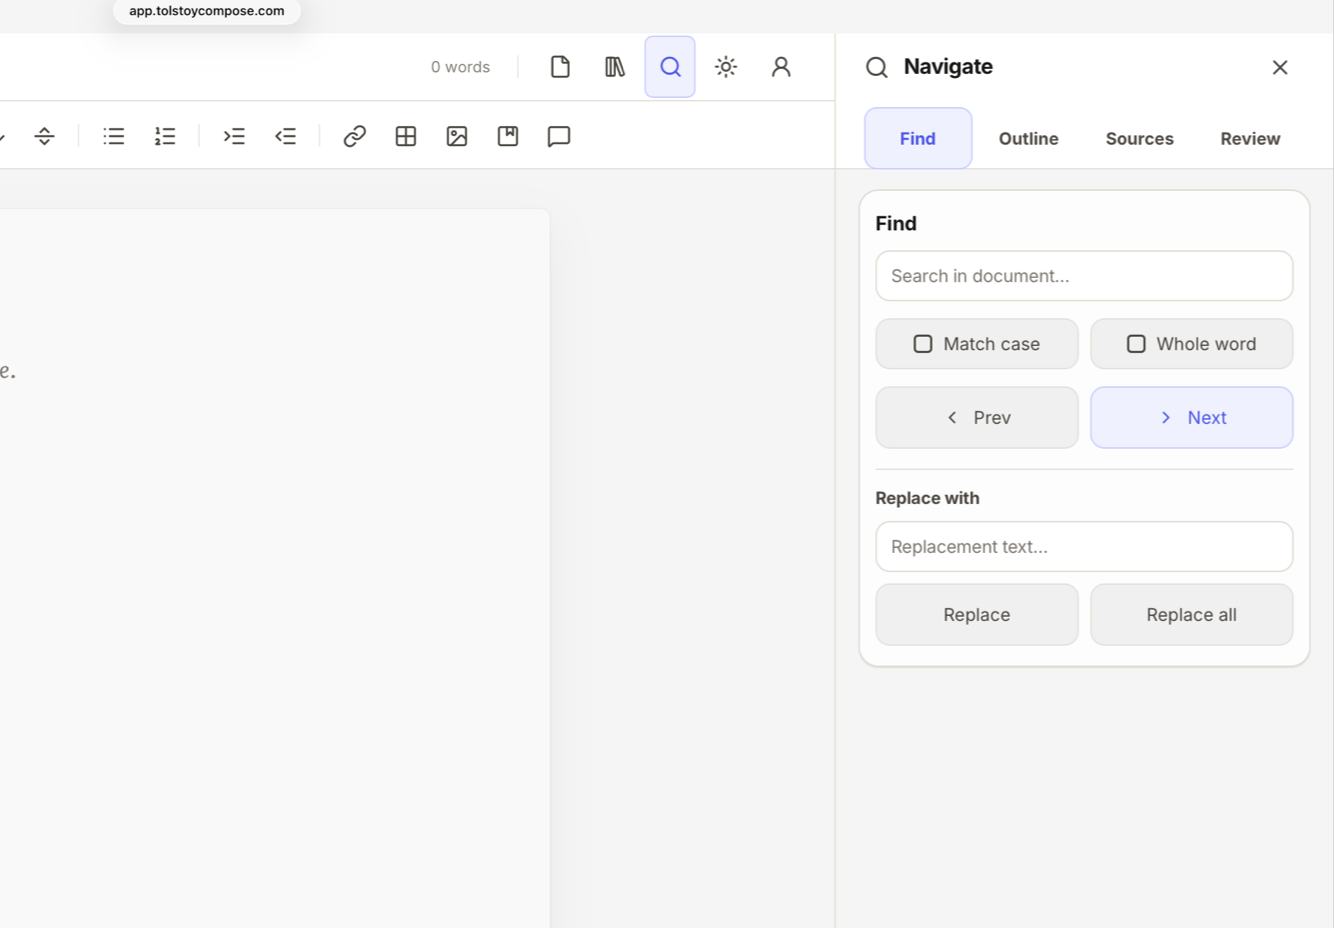
Find and replace text
Open the Navigate panel.
Type the word or phrase you want to find.
Move through matches with previous and next.
Turn on match case or whole word when the search needs to be stricter.
Enter replacement text if you want to replace a match.
Use Replace for one match or Replace all when you are confident every match should change.
Use Replace all carefully. For important documents, save a milestone in Versions first.
Control export page breaks
Use headings to mark major sections.
Open the Navigate panel.
Use the section controls to mark sections that should start on a new page in export.
Export to DOCX or PDF and inspect the output.
Research
Research is where you keep useful links and working notes beside the document. It is for material that supports the writing but should not necessarily appear on the final page.
Add a research link
Open the Research panel from the top-right bar.
Paste the URL into the link field.
Add or edit the title if needed.
Save the link.
Open the link from the Research panel when you need to check the source again.
Compose may show link preview details when they are available. If preview details are not available, the saved link still works.
Add a private research note
Open the Research panel.
Write the note in the note field.
Use the note for reminders, excerpts, background facts, draft thoughts, or questions to check later.
Save the note.
Keep private working notes in Research instead of mixing them into the final document.
Find research later
Open the Research panel.
Use link search when you are looking for a saved website or article.
Use note search when you are looking for a thought, quote, task, or reminder.
Edit or delete old items when they are no longer useful.
Move research between documents
Open the Research panel.
Export the research collection when you want a reusable research file.
In another document, import the research file.
Choose whether to merge with existing research or replace it.
Review the imported links and notes before continuing.
Research is available on Pro and Teams.
Citations and references
Citations keep source details separate from the sentence where the citation appears. That way, you can reuse a source, update its details, check missing fields, and prepare references more reliably.
Add a citation quickly
Place the cursor where the citation should appear.
Open the citation control in the toolbar.
Paste a DOI, URL, or BibTeX-style entry into quick import.
Review the fields Compose was able to fill.
Add anything missing, such as author, year, title, publisher, journal, pages, DOI, URL, or access date.
Insert the citation.
Add a citation manually
Place the cursor where the citation should appear.
Open the citation control.
Choose the source type: book, journal article, website, chapter, thesis, conference paper, report, or dataset.
Fill in the source fields you know.
Add a locator when you need a page, chapter, section, paragraph, or other pinpoint reference.
Insert the citation.
Reuse a source you already added
Place the cursor where the new citation should go.
Open the citation control.
Choose the existing source from the reuse list.
Add a locator if this citation points to a specific page or section.
Insert it. The document now has another citation occurrence that points back to the same source record.
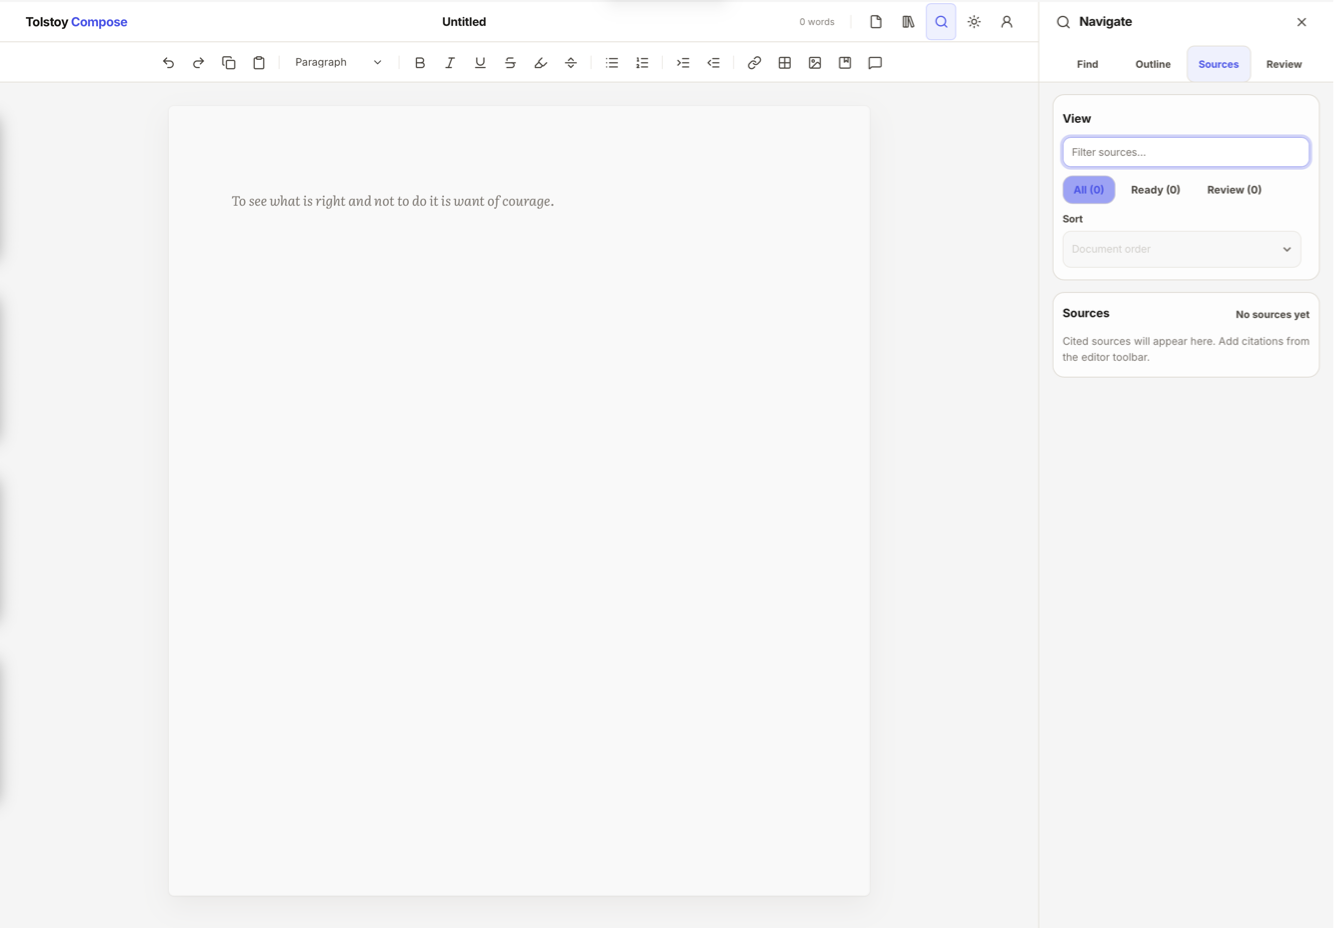
Review and copy references
Open the Files panel or the sources/reference area where citations are shown.
Filter sources by all, ready, or needs review.
Sort by document order, author, year, title, or review status.
Edit sources that are missing important fields.
Copy a single reference or copy the full reference list.
Supported styles include APA 7, MLA 9, Chicago 17, Harvard, Vancouver, and IEEE. Citation notes can be shown as footnotes, endnotes, or both depending on your settings.
Change citation style or note placement
Open Settings from the top-right bar.
Go to the writing or appearance preferences that include citation settings.
Choose the citation style.
Choose footnotes, endnotes, or both for note placement.
Review the document before export.
Citations are available on Pro and Teams.
Review workflow
Review lets you leave feedback without changing the live document until a suggestion is applied. It is useful for editors, managers, supervisors, and writers who want a record of what needs attention.
Add a comment
Select the text you want to discuss, or place the cursor in the block you want to comment on.
Open the review control in the toolbar.
Choose whether the review is attached to the selection, the block, or the whole document.
Write the comment.
Add an assignee, mention, due date, or priority if the feedback needs ownership.
Save the review thread.
Suggest a replacement
Select the text you want to change.
Open the review control.
Choose a suggested replacement instead of a feedback-only comment.
Write the proposed wording.
Save the suggestion.
Apply it later when you are ready for Compose to change the draft.
Feedback-only comments do not change the document. Applying a suggestion changes the document.
Work through review threads
Open the review area from the toolbar or review controls.
Filter by open, resolved, assigned, overdue, priority, or other visible review states.
Jump to a thread to see the related text in the document.
Reply when a discussion needs more context.
Apply or reject suggestions.
Resolve the thread when the issue is finished.
Reopen a thread if the issue comes back.
Understand stale or conflicted suggestions
If the original text changes after a suggestion was created, Compose may mark the suggestion as stale, detached, or conflicted. That warning means you should inspect the suggestion before applying it. The document may have moved on since the comment was written.
Copy a review summary
Open the review area.
Filter to the threads you want to include.
Choose the review summary copy action.
Paste the summary into an email, issue tracker, meeting note, or handoff document.
Review is available on Pro and Teams.
Versions
Versions are for moments you may want to return to: a first draft, a pre-review copy, a client handoff, or the state before a large rewrite.
Save a milestone
Open the Files panel.
Go to Versions.
Choose the action to save the current document as a milestone.
Give the milestone a clear name, such as “Before client edits” or “Submitted draft”.
Continue writing.
Open an older version without replacing your draft
Open the Files panel.
Go to Versions.
Select a recent recovery point or saved milestone.
Preview the version details, such as word count, character count, block count, date, and type.
Choose Open as copy.
Compare it with the current draft before deciding what to keep.
Replace the current document from a version
Open the Files panel.
Go to Versions.
Select the version you want to restore.
Preview it carefully.
Choose Replace current only when you are sure.
Compose preserves the current draft as a milestone first when there are changes to protect.
Recent recovery points versus saved milestones
Recent recovery points are automatic and rolling. They help when something went wrong recently.
Saved milestones are intentional. Use them before important changes or handoffs.
Portable history bundles can preserve version history when exported from a paid workspace.
Pro and Teams include the Versions sidebar, recent recovery points, saved milestones, and portable history bundles. Free keeps crash recovery only.
Appearance, language, and writing preferences
Appearance settings change how the workspace feels while you write. They do not rewrite your document.
Use Settings to tune fonts, spacing, text width, theme, language, shortcuts, and writing preferences.
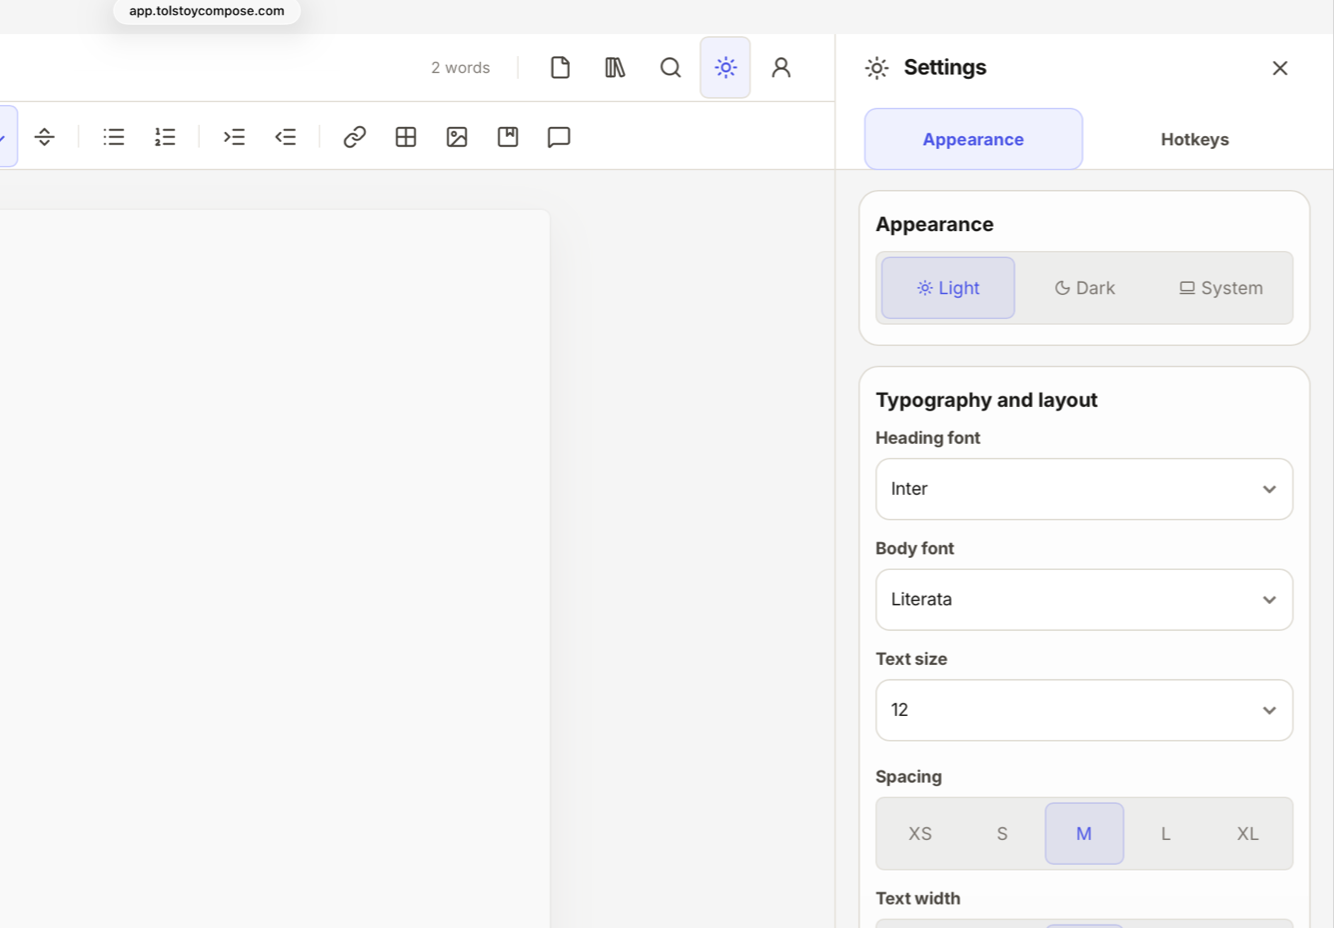
Change the writing view
Open Settings from the top-right bar.
Choose Appearance.
Select light, dark, or system mode.
Choose heading and body fonts.
Adjust text size, line spacing, and text width.
Turn typewriter scroll or hyphenation on or off if those help you write.
Change the language
Open Settings.
Find the language control.
Choose the interface language.
When a right-to-left language is selected, the interface adjusts for right-to-left layout support.
Supported interface languages include English, Arabic, German, Spanish, French, Hindi, Italian, Japanese, Portuguese, Russian, and Chinese.
Find keyboard shortcuts
Open Settings.
Open the keyboard shortcuts area.
Search for the action you want, such as headings, lists, undo, redo, find, insert, formatting, or sidebar movement.
Use the Mac shortcuts on macOS and the Windows/Linux shortcuts on those platforms.
Workspace, accounts, billing, and devices
The Workspace panel is where account and paid-access features live. Local writing does not require an account, but paid features do.
Sign in
Open the Workspace panel from the top-right bar.
Enter your email address.
Complete the sign-in flow shown by the app.
Return to the Workspace panel to check your plan, workspace, device status, and available actions.
Upgrade to Pro
Open the Workspace panel.
Choose the Pro upgrade action.
Complete checkout in the hosted billing flow.
Return to Compose after checkout.
Check that the Workspace panel shows active paid access.
Billing changes, payment methods, invoices, cancellations, and final billing consequences are handled in the hosted billing flow, not calculated inside the writing editor.
Manage devices
Open the Workspace panel while signed in to a paid workspace.
Find the device section.
Check which device is marked as the current device.
If you hit the active-device limit, revoke an older device you no longer use.
Sign in again on the device you want to use.
Pro includes up to 3 active devices. Teams members use the same device policy for their own account.
Understand paid-access states
The Workspace panel may show when checkout is incomplete, billing is unavailable, a payment issue needs attention, a device is not authorised, or a team seat problem blocks access. Follow the action shown in the panel rather than guessing from the editor.
Teams
Teams gives an organisation managed Pro seats. It is for central billing, member administration, roles, spaces, and shared defaults.
Create or use a team workspace
Start Teams checkout or join a team workspace created for you.
Sign in with the email address attached to the team seat.
Open the Workspace panel.
Switch between your personal workspace and the team workspace when both are available.
Add a team member
Open the Workspace panel as an owner or admin.
Go to the team member area.
Check seat usage before adding someone.
Create the member account by email.
Assign the right role and space.
Ask the member to sign in with that email address.
Owners and admins can create members. Members cannot manage team administration.
Manage roles
Owner: manages billing, seats, member creation, member removal, and role-aware workspace controls.
Admin: manages members and seat usage, but does not manage billing.
Member: uses the paid seat and Pro-level features, but cannot manage billing, seats, roles, or members.
Use team spaces
Open the Workspace panel as an owner or admin.
Go to team spaces.
Create a space for a team, client, project, class, department, or workflow.
Rename or archive spaces when the structure changes.
Move members between spaces when responsibilities change.
Use shared defaults
Open the Workspace panel as an owner or admin.
Go to shared defaults or team standards when available.
Choose defaults for export, citations, front matter, document finish, or template sets.
Use template sets such as report desk, briefing team, or manuscript review when they fit the team workflow.
Ask writers to use the team workspace when the document should follow team standards.
Front matter means document details such as export title, subtitle, author, and byline labels.
Understand seats
Seat billing is controlled by the hosted billing system. If the number of active members is higher than the paid seat count, the team can enter an over-seat state. Compose does not silently remove members when seats are reduced. Owners should either buy more seats or remove members before adding more people.
Support, install, and safe recovery
Compose includes practical support and recovery tools so users are not left guessing when something goes wrong.
Install Compose
Open Compose in a supported browser.
Use the browser’s install, add-to-home-screen, or add-to-dock option.
Open Compose from the app icon when you want a cleaner app window.
Use the browser version if your device does not offer installation.
Include what you were trying to do, the browser/device you used, and whether the issue affects one document or the whole app.
Send the request.
Paid support is included with Pro and Teams.
Copy diagnostics
If the app shows a startup, billing, account, or support problem, look for a diagnostics copy action.
Copy the diagnostics.
Paste them into the support message.
Do not paste private document text unless support specifically asks for it and you are comfortable sharing it.
Diagnostics are meant to describe app state and troubleshooting context. They are not a substitute for saving your own documents.
Reset the app cache safely
Use cache reset only when the app tells you to, or when support recommends it.
Save or export important documents first.
Use the reset action shown in the app.
Reload Compose.
Open your saved files again if needed.
Useful limits and boundaries
These limits help keep the app responsive and make the launch feature set clear.
Open documents.
You can have up to 20 documents open at once. Close one before opening or creating another if you reach the limit.
Import size.
Text-like imports are limited to 25 MB. DOCX imports are limited to 75 MB.
Research size.
A document can hold up to 500 research links and 500 research notes. Each note can hold up to 10,000 characters. The research payload has a 2 MB maximum and shows an advisory before that point.
Versions.
Recent recovery points are capped at 20. Saved milestones are capped at 50.
Images.
PNG, JPEG, GIF, and WebP images are supported. Embedded image data is capped so the document does not become too large to handle reliably.
Paid exports.
DOCX and PDF export require Pro or Teams. Export generation happens in the browser after paid access is checked.
Cloud document storage.
Compose does not currently provide live Google Drive, Dropbox, OneDrive, or shared cloud document hosting. Save and export files you control.
Real-time collaboration.
Review threads and team administration are supported, but live multi-user editing in the same document is not a launch feature.
Enterprise administration.
Teams includes seats, roles, spaces, billing, member creation, member removal, and shared defaults. It does not currently include SSO, SCIM, domain claim, audit logs, or advanced enterprise permission tiers.